- Tags applied at the beginning of a sequence usually define a specific lead magnet (e.g. Video Tips Series), a segment (e.g. Home Buyer), and/or a relationship stage (e.g. prospect.)
- Tags applied in the middle of a sequence usually define a period of time that has elapsed or a milestone. These can help you gauge how long people stay in a sequence before responding to a call to action.
- Tags applied at the end of a sequence can be used to add a contact to a broadcast list (e.g. monthly newsletter) after a period of inactivity or after they've completed a higher priority sequence (e.g. a customer welcome sequence.)
- Click and drag an Apply/Remove Tag object onto the campaign canvas to the right of the start icon or to the right of another object.
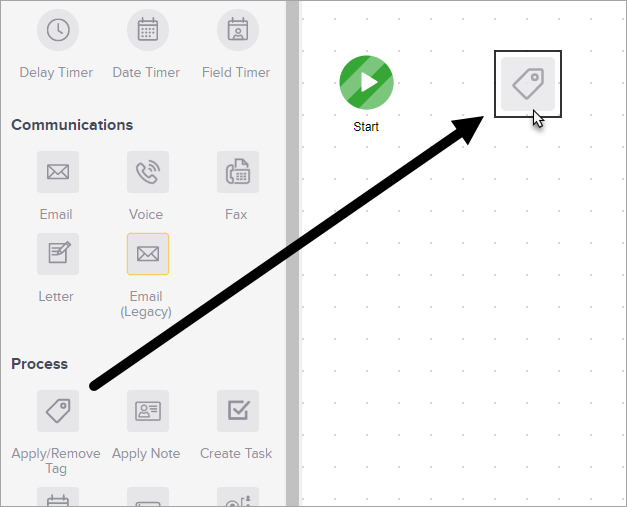
- Double-click the icon to configure it.

- Choose a tag option (apply or remove) and then enter the tag name into the search box to find a list of possible matches.
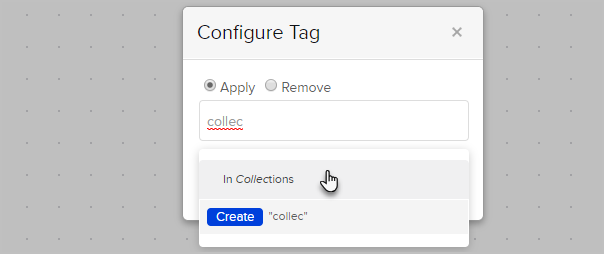
- Click on the tag name to select it or start typing to create a new tag and click the Create button to create it. You can repeat this process to add multiple tags.
- Click on Save to apply the tag settings
- Don't forget to publish your changes before going live!


