Product interest bundles are Max Classic's "Buy Now" links.
Product interest bundles are groups of products that are commonly purchased together. They can be used to automatically generate the product/subscription program when an opportunity is created through an action, or a sales rep can manually add a product Interest bundle to an opportunity record after talking with a prospect. Using product interest bundles is an alternative to adding products and subscriptions to an opportunity record one at a time. You must add products and subscription program records to Max Classic before you create product interest bundles.
You need to enter product and subscription program names while creating the bundles. Before you start, you may want to print a list of products (E-Commerce > Products) to reference.
- Go to CRM > Settings in the main navigation menu.
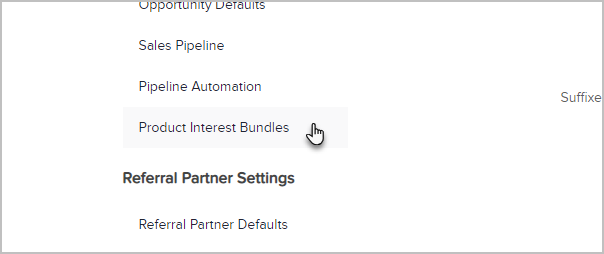
- Click on Product Interest Bundles in the Settings menu.
- Click on the Add Product Interest Bundle button.

- Enter the Bundle Name and Description.

- Bundle Name: Sales reps will need to recognize the bundle by name when adding it to an opportunity record. It should be short but descriptive. The customer will not see this information.
Description: This is a note to yourself about why you created this bundle and when it should be used. It might also include a date to remove the bundle so that sales reps can no longer use it. - Click on the Save button. Click on the Interests tab to add products to the bundle. You will add one time products and products with subscription plans separately.

- Type in the name of a product or subscription program to find possible matches, then click the name of the product in the drop-down to select it.

- Click on the Add button to add the product or subscription to the bundle. Repeat this process to add more products and/or subscription programs.

- Click on Edit to change the quantity and/or apply a discount to an item in the bundle.

- Click on the Save button when you are finished.
