Order forms can hold up to 15 total products and/or services per form. Your products will be arranged by Product ID with the lowest (oldest) products displayed at the top of the list and the highest (newest) products at the bottom.
Order forms do not allow the customer to "remove" a line item (set quantity to zero.) For this functionality, you would want to create a product bundle link that instead sends them to a shopping cart checkout page.
To give the customer the option to "add" a product or service to an order form, you would want to create an upsell.
Learn how to set up your products, merchant account, billing automation and taxes
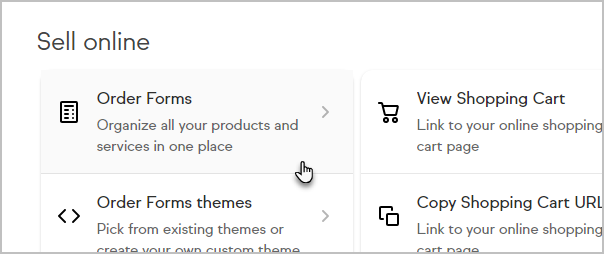
- Go to E-Commerce > E-Commerce Setup

- Click Order Forms
- Click the Create New button

- Name your order form and click Save.
- Begin typing the name of the product in the text box and select it from the drop-down.

- Click the Add Product button. You can add up to 15 products and subscriptions per order form. You have the option to change the name of the product in the Label column. You may also change the quantity of each item. Check the box at the bottom to lock your quantities so a buyer cannot change them on the order form.
- Click on the Themes tab. This tab allows you to preview the current active theme for this order form or choose a different theme.
- Select the order form theme you would like to use and click Make Active.
- (Optional) Click the HTML Areas Tab. HTML Areas are containers that allow you to add HTML to various locations on the order form. Each area is accompanied by a thumbnail image illustrating the exact location, as well as a Preview and Save button.
- Click the Thank You Page tab. After a successful purchase, the customer will need to be redirected to a Thank You page. You can create a custom Thank You page using the built-in Thank You Page builder. It's best practice to create this in the Branding Center. You can also choose to send them to a custom web address.
- Click the Settings tab. This section allows you to:
- Change the name of the order form
- Select the merchant account to use.
- Change the duplicate checking setting
- Send an email to yourself when an order is placed
- Hide live promo codes.
- Click the Links tab. Both of these links will take you to the hosted order form. The custom URL can be modified by clicking the Edit button next to it.


Pro Tip:
To find a product's Product ID, hover over the product link.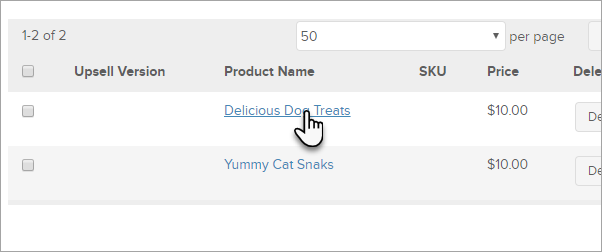
Then look in the lower left corner of your browser, where you can find a URL that ends with the Product ID.
