Date Timers allow you to schedule a marketing piece at a specific date and time or within a date/time range.
Pro Tip!
Only one type of timer can be used per "Start" button. Meaning, no Start > Email > Delay Timer > Task > Date Timer. The Date Time would need to be on it's own "Start" button.

- Drag the Date Timer snippet onto the canvas

- Double-click timer to configure the settings.

- On the left choose to either:
- Run on a specific date or
- Run between a date range
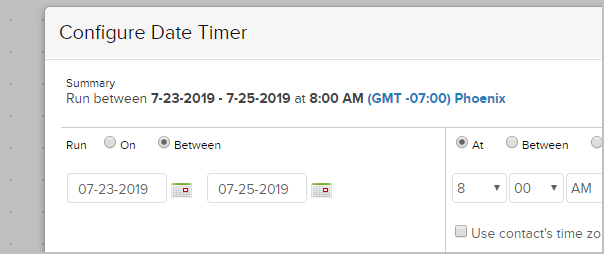
- The on the right choose to either:
- Run at a specific time
- Run between a time range
- Run any time meaning the Date Timer will run as soon as the contact lands on the process
- Use contact's time zone will send based on the time zone saved in the contacts record (optional)

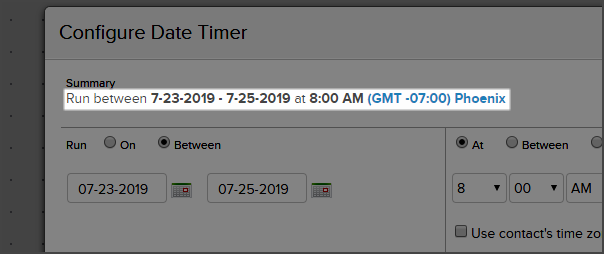
- The Summary section will display what day/time it will run
- Click Save
- You are now ready to publish your changes


Note: If your customer enters the sequence and the timer's selected date time has passed, the contact will jump past all processes in your sequence until it finds a live, current timer to land on. If there are no current date timers and no other timers set up in the campaign's funnel, the contact will eventually fall out of the campaign since it does not meet the date and times requirements that were set up in the campaign.