Enable payment collection on Invoices
The invoices will work with all order types: online orders, unpaid orders, or manual orders. To enable this feature:
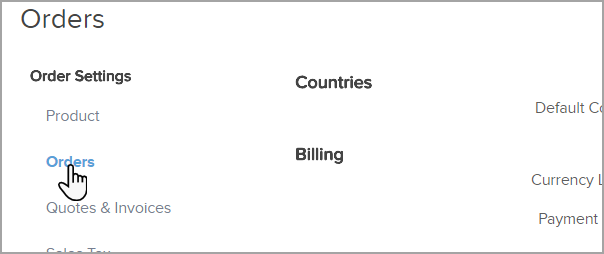
- Go to E-Commerce > Settings
- Click on Orders
- Under the Invoice section, you will see a new Order Settings option allowing you to enable this new feature.

- Click Save
As an example, we'll show you the workflow of sending an invoice from a manual order.
When you are ready to send the invoice from a manual order, click the Send Invoice button at the bottom of the order record and follow the instructions below:

- Payment Options: Choose whether to send the invoice with or without an online payment option.

- Modify the To and Subject line if you wish.
- Edit the open text fields

Pro Tip: The logo is pulled from Nav > Admin > Branding Center > Logo Tab > External Pages Logo
- Click Send Invoice
- Your customer will receive the invoice email with a button labeled, View my Invoice. They can view the invoice and its current status (paid or unpaid) at any time in the future.

- At the bottom of the online invoice, there will be an option to Pay Now.

Note: If you set the invoice date to a date in the future, the Pay Now button will not show until the actual invoice date. i.e., The payment due date is set for 10/4/2019 and the email is sent on 10/3/2019. On 10/3/2019, the Pay Now button will not show, but on 10/4/2019 it will!
- Your customer will enter their payment information and click Submit.

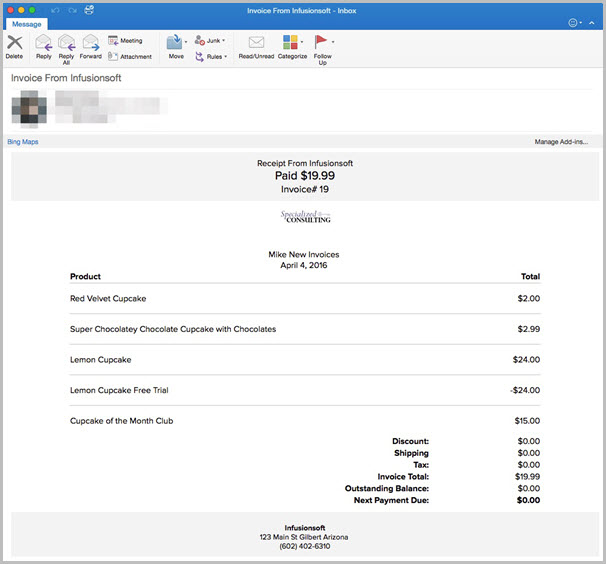
- Upon successful payment, your customer will be redirected to an Invoice Paid success page.

- Your customer will then receive an order receipt.

- Invoice templates are mobile responsive, meaning they will maintain a professional look on all devices - like phones and tablets.
- Invoice emails will only allow you to edit the open text fields.
- For a Receipt to be sent you must enabled under E-Commerce > Settings > Orders > "Email receipts/invoices upon successful payment?"
Invoice - Default Fields
There are options available that will allow you to save default fields for Invoices and Receipts.
You can create and save:
- Default "From" Email Address
- Default Email Subject
- Default Email Body
- Default Email Closing
- Terms & Conditions

Click on the See Example link next to a section to see where it lies on the Invoice or Quote

Invoice - International Tax Settings
As an international customer, you can use Max Classic Invoices AND be compliant with your government's invoice tax requirements. There is a setting to add your tax identification requirements.

Available Business Number tax type options:
- ABN
- BN
- EIN
- VAT
Invoice Title and Tax Label will automatically update based on your selected Business Number tax type. However, these fields are editable so you can customize to your specifications as needed.
Legal Requirements for Reference:

Receipts
There are a couple settings that will trigger a Receipt when a purchase is made. When an order is paid for through an invoice a receipt can be sent confirming payment.
- Go to E-Commerce > Settings > Orders

- Check Yes next to "Email receipts/invoices upon successful payment?"
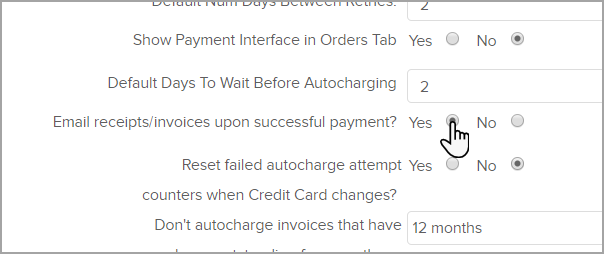
- This will then send this Receipt when a payment is made through an Invoice.


Note: When you choose Enable Payments collection on invoices, you can no longer use legacy custom invoices! Click here to learn more.