This article provides instructions for launching the Contact Me Bubble Up campaign that you can download for free from the Infusionsoft Marketplace.
This campaign contains a simple re-usable workflow that lets a contact easily request a personal follow up.
Download the Contact Me Bubble Up campaign from the Marketplace
Assign the Follow-up Task
The only setup step is to choose who gets the follow-up task when someone bubbles up from an email.
- Double click on the Task to Contact sequence.
- Double click on the Contact Bubble Up task.
- Select a user from the Assign to (backup) drop-down.
- In the Notify these users section, select the same user so they can receive an email notification whenever someone bubbles up.
- In the upper right of the page, click Draft to change the task to the Ready status.
- Click on Back to Sequence in the upper left of the page.
- In the upper right of the page, click Draft to mark the sequence itself as Ready!
- Click Back to Campaign in the upper left of the page.
Publish the CAMPAIGN
All items on this campaign by now should look light green/greyed out (just like the Functional -> Contact Me Bubble Up goal). This means we can safely Publish the campaign so it can be used.
- Click the green Publish button in the upper right; this will display a list of all items to be published.
- Click the green Publish button at the bottom of this list to publish the campaign.
BEGIN ADDING BUBBLE UP FUNCTIONALITY TO YOUR CAMPAIGNS AND BROADCASTS
You can easily add a link in any email that applies the functional tag.
To apply this tag from a Campaign Email:
- When configuring a link in a Campaign Email, click the Auto-Tag button

- Begin typing the name of the tag
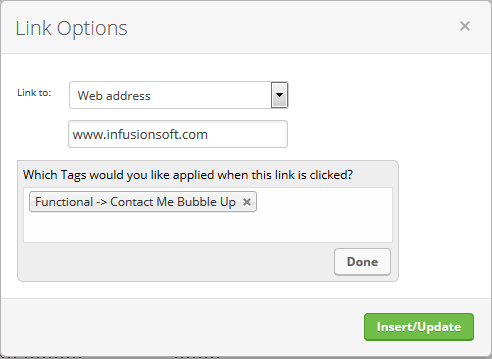
- When the tag appears as an option, click on it
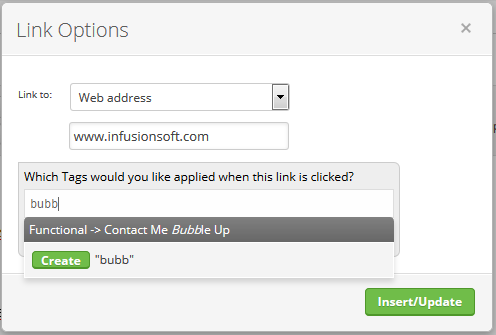
- Click Insert/Update
- When configuring a link in a Campaign Email, click the Auto-Tag button


