Each Keap user can track their tasks and appointments through Keap. You can allow users to view each others calendars and tasks by editing their user permissions. Keap may also automatically assign tasks or appointments as part of your campaign sequences. You can create tasks and appointments from the calendar or through an individual contact record. To sync your Outlook or Gmail calendar, use our email sync feature.
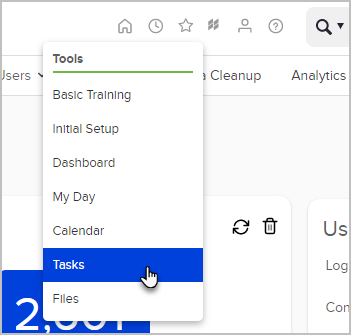
- Click on the Home icon in the user toolbar and select Tasks.
- Click the Add Task button to create a new task. You can also create a task while viewing a contact record or while viewing a list of contacts in interactive view.

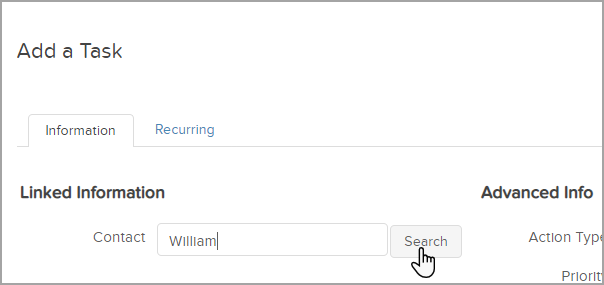
- Start typing the first name of a contact and click the Search button to find the contact record.
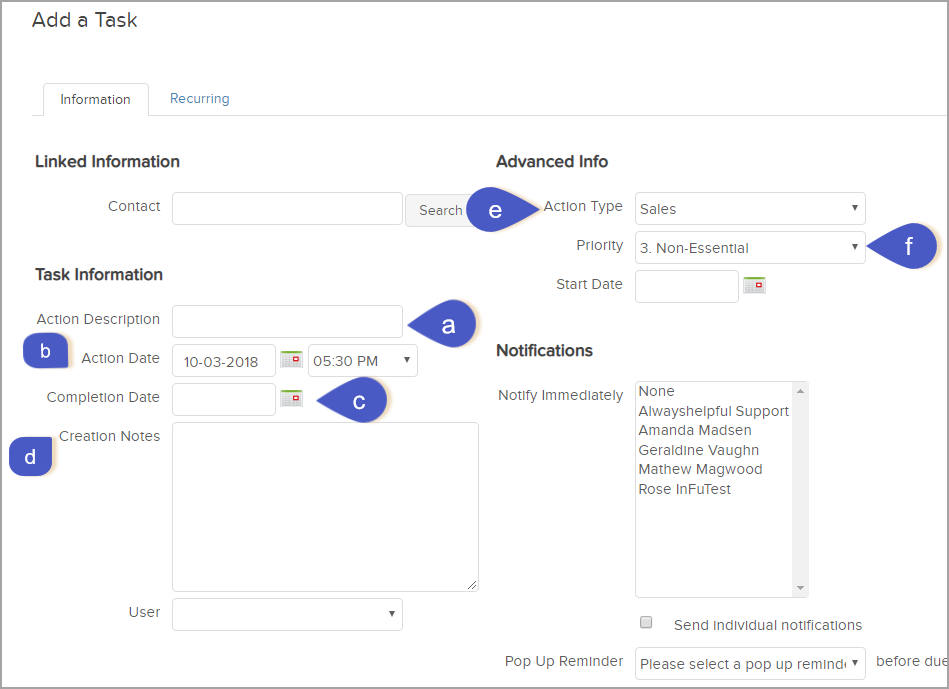
- Fill-in the task details:
- Action Description: This is the task title that shows up in your task list.
- Action Date: This is the date the task is due. You can update this date if you are not able to complete the task on the due date or keep it pending as an overdue task.
- Completion Date: Use the calendar icon to select a completion date when you finish the task. Setting a completion date will remove the task from your task list and archive it in the contact record history.
- Creation Notes: These notes describe the task in detail. You can also use this space to record notes about the outcome of the task.
- Priority: Is used to set the urgency level of the task.
- Action Type: This is the Task Category. You an use the Action Type when running the "Call History Summary report" and "Call Log Report" located under CRM > Reports > Sales. Also when running the "Task Note Report" located under Admin > Reports
- Notifications: The Notify Immediately section allows you to select one or more (by holding down CTRL or CMD key on a Mac) users that will receive an email notification immediately when the task is saved.
- The Pop Up Reminder section will send the user a pop-up message in Keap at the time you select. Note the user will need to be signed in to Keap to get the pop-up reminder.
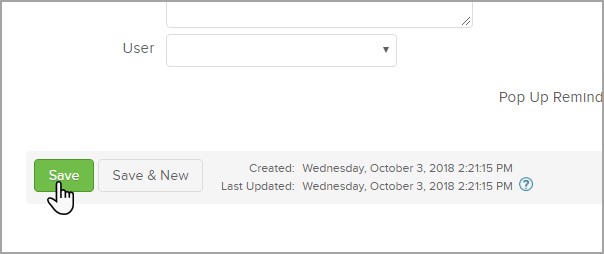
- Click the Save button to save your changes.