PowerPay provides merchant account services in the United States and Canada. When you integrate with a PowerPay merchant account, you can process payments through any method (order forms, shopping cart, or manual orders). It will also handle auto-charges for subscription or payment plans. PowerPay will create a bundled package for you that will include a payment gateway along with your merchant account. PowerPay understands small business, and they provide superior customer service and competitive pricing. Click here to find out about the special offer they provide for Keap customers.
Once your PowerPay account is approved and activated, you will need to integrate it with the Keap E-Commerce component.
- Go to E-Commerce > E-Commerce Setup
- Click on Payment processing in the Settings menu
- Make sure Process Credit Card Payments is checked and Click the Add new... link

- Select PowerPay from the drop-down

- Fill in the PowerPay w/ Athorize.NET account information. Some of this information must be obtained from PowerPay.
- Name: The name should be short and descriptive. It is used to identify this merchant account in various lists throughout Keap (e.g.PowerPay.)
- Login ID: This is provided by PowerPay
- Transactional Key: This is provided by PowerPay
- (Optional) Password: This is your PowerPay account Password.
- (Optional) Account Limit: This field is used to set a maximum charge amount for this particular merchant account.
- Test Mode: Set this to Test Mode when you are testing the integration. Come back and set it to Live Mode before you begin processing orders through this account!
- Send Transaction Email: Set this to Yes if you want to receive a Transaction Email for each purchase in addition to the order notifications Keap sends to you.
- Click the Save button.
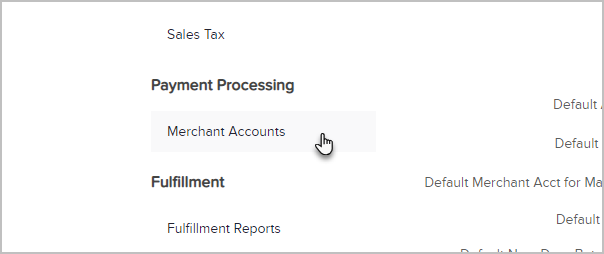
- Once it is set up, you can test your account by going to E-Commerce > Settings and click on Merchant Accounts
- Go to the Test Account column and click on the link to process a test charge

- Enter valid billing and credit card information to run a test charge.
- When the test charge processes successfully, edit the PowerPay account to switch from Test Mode to Live Mode.
